(A) Create New Product & Adjust Stock Quantity.
*Note: You can skip this steps if you have created product in AutoCount.
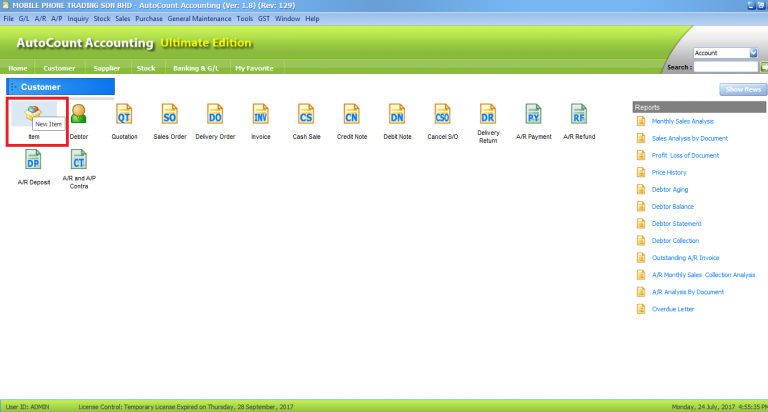
1. Open your AutoCount accounting system that support the API module.
2. Click Item under Customer section.
3. It will direct you to New Stock Item page. In here, you can create a new item and fill in all the item description.
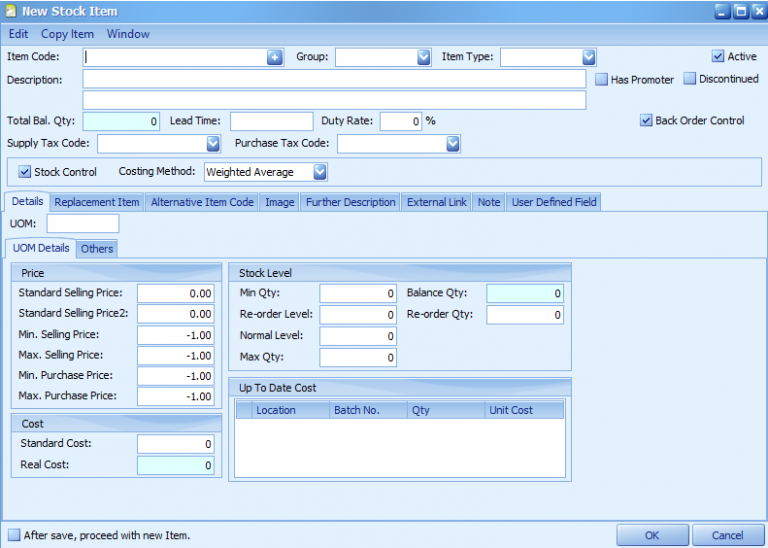
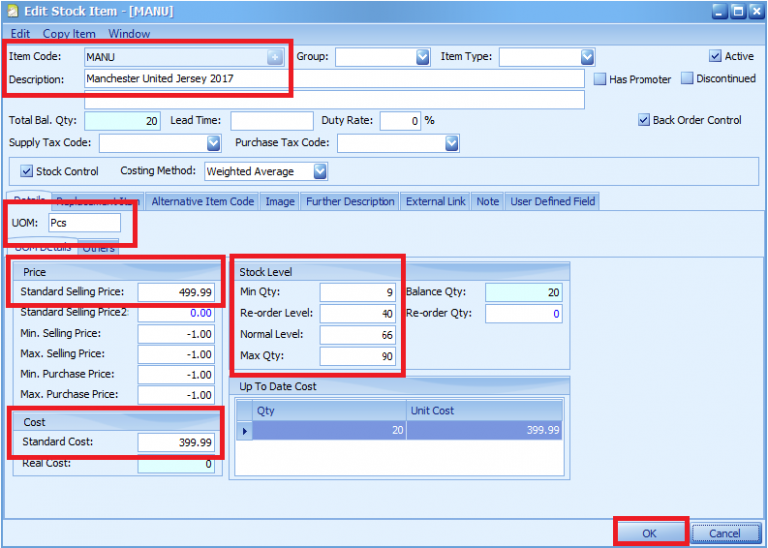
4. Insert information as follows:
Item Code: Item SKU
Note: We highly recommend you to not use spacing and special characters. You can use dash "-" or underscore "_" )Description: Product Name
UOM: Unit Of Measurements such as pieces, units or kilograms.
Price: Price Shown To Customer
Cost: Original Price or Cost
5. Click OK.
6. You will be redirect to AutoCount main page.
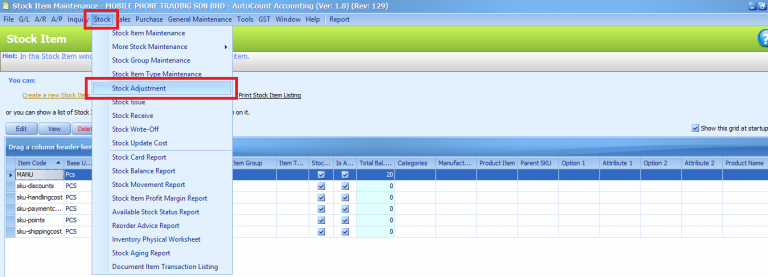
7. Go to Stock > Stock Item Maintenance. Here you can create, modify and delete the stock item.
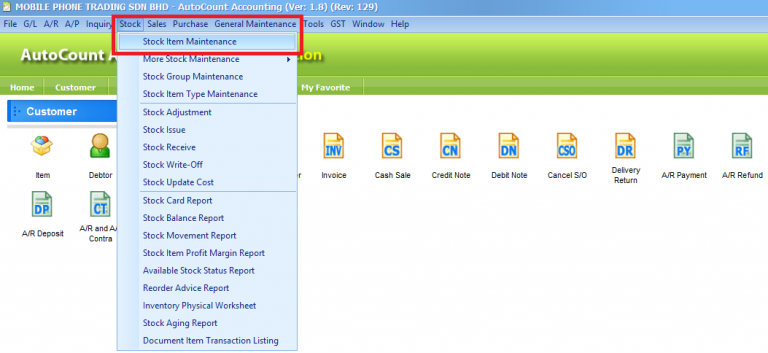
8. Your Product Item description will appear under Stock Item section.

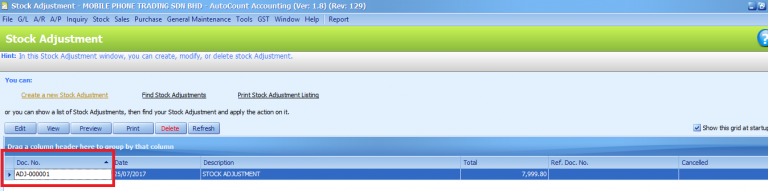
9. To modify Total Balance Quantity, go to Stock > Stock Adjustment. Stock Adjustment window is where you create, modify or create a stock adjustment.
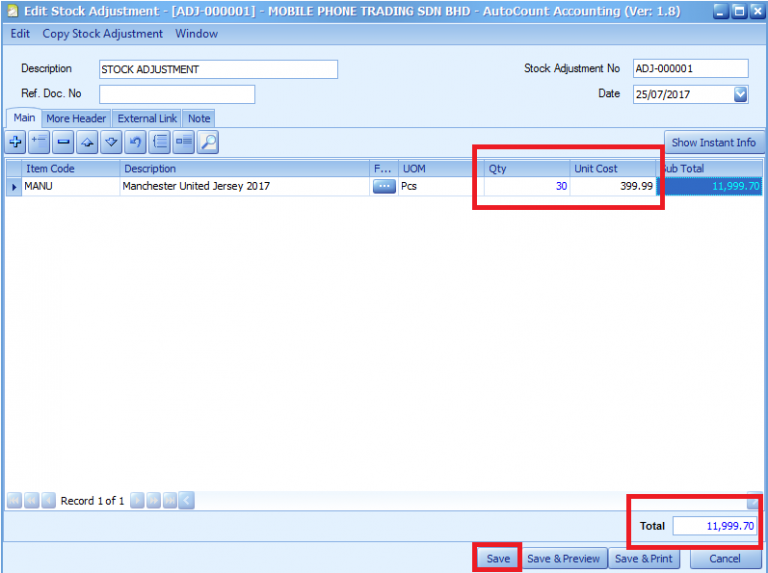
10. Double click on your product item.
11. Insert Item Quantity. The 'Total' show will the (Quantity and Unit Cost) per product item.
12. Then click Save.
(B) On Zetpy Accounting Sync application
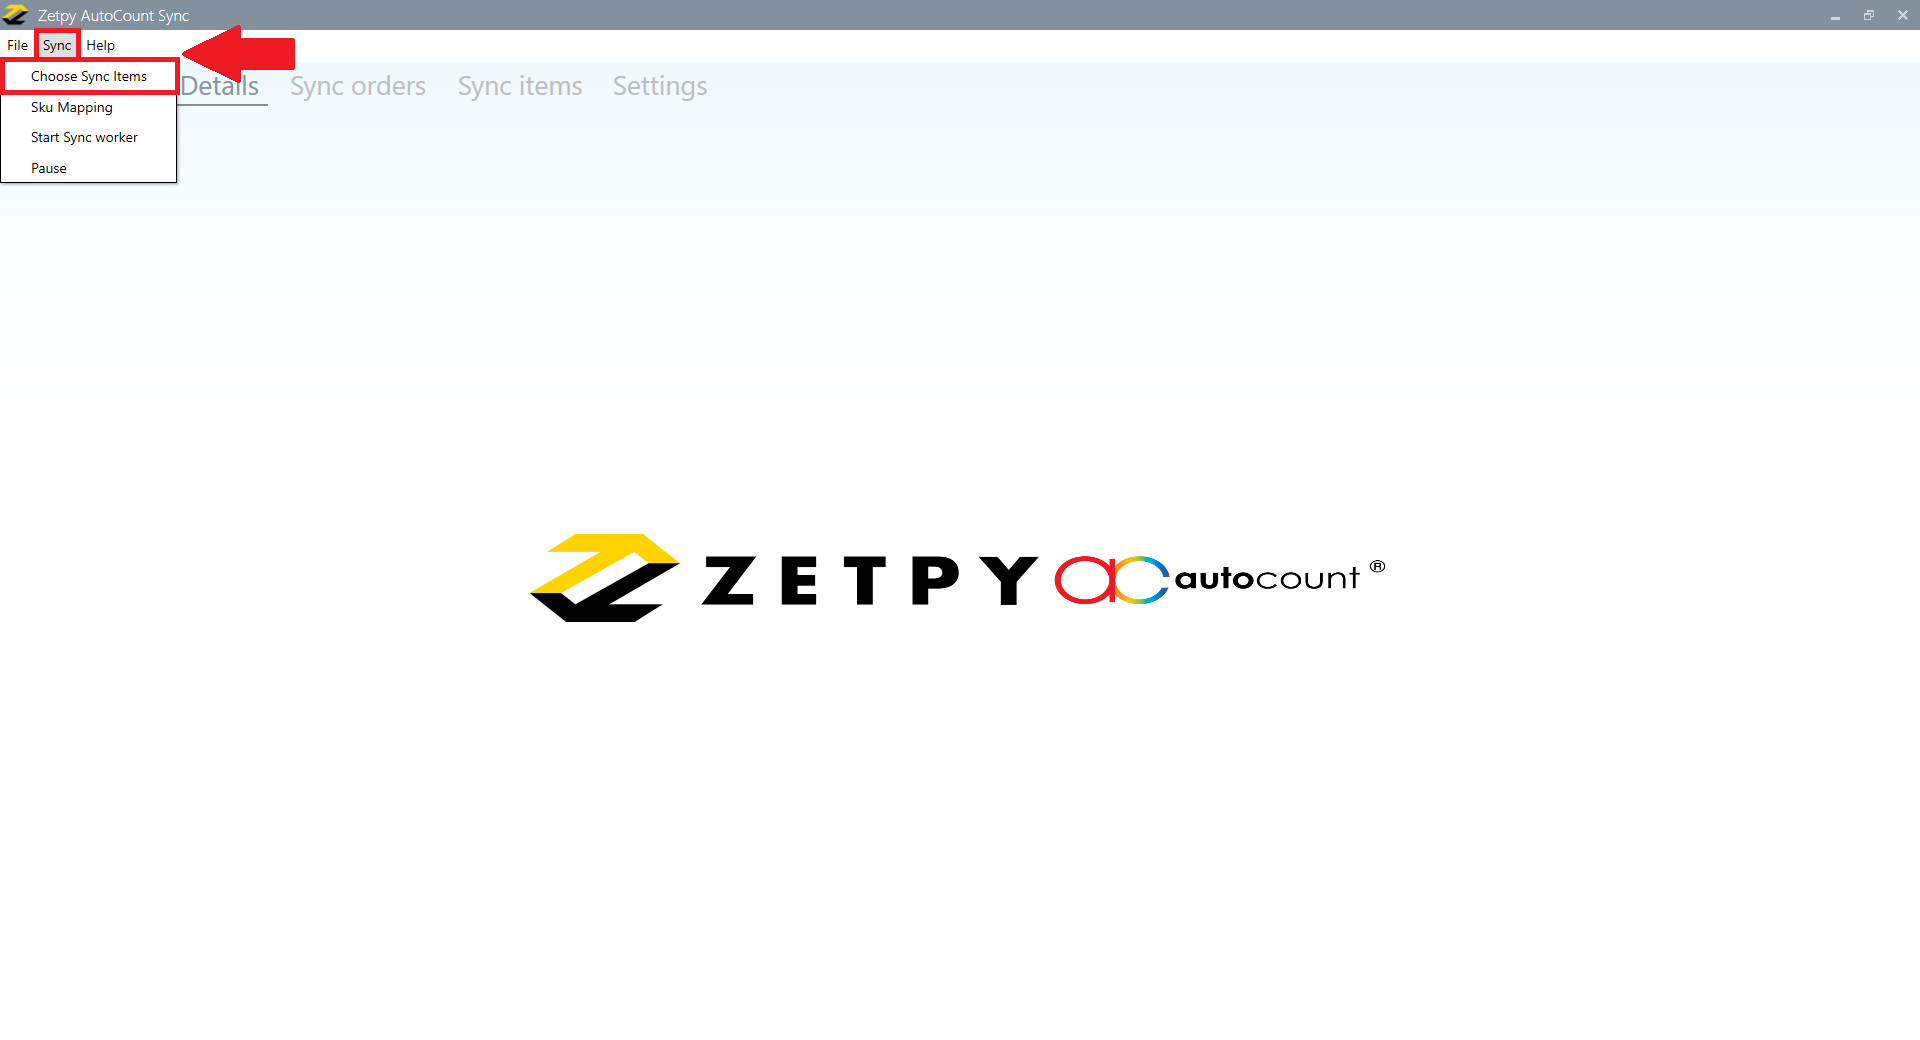
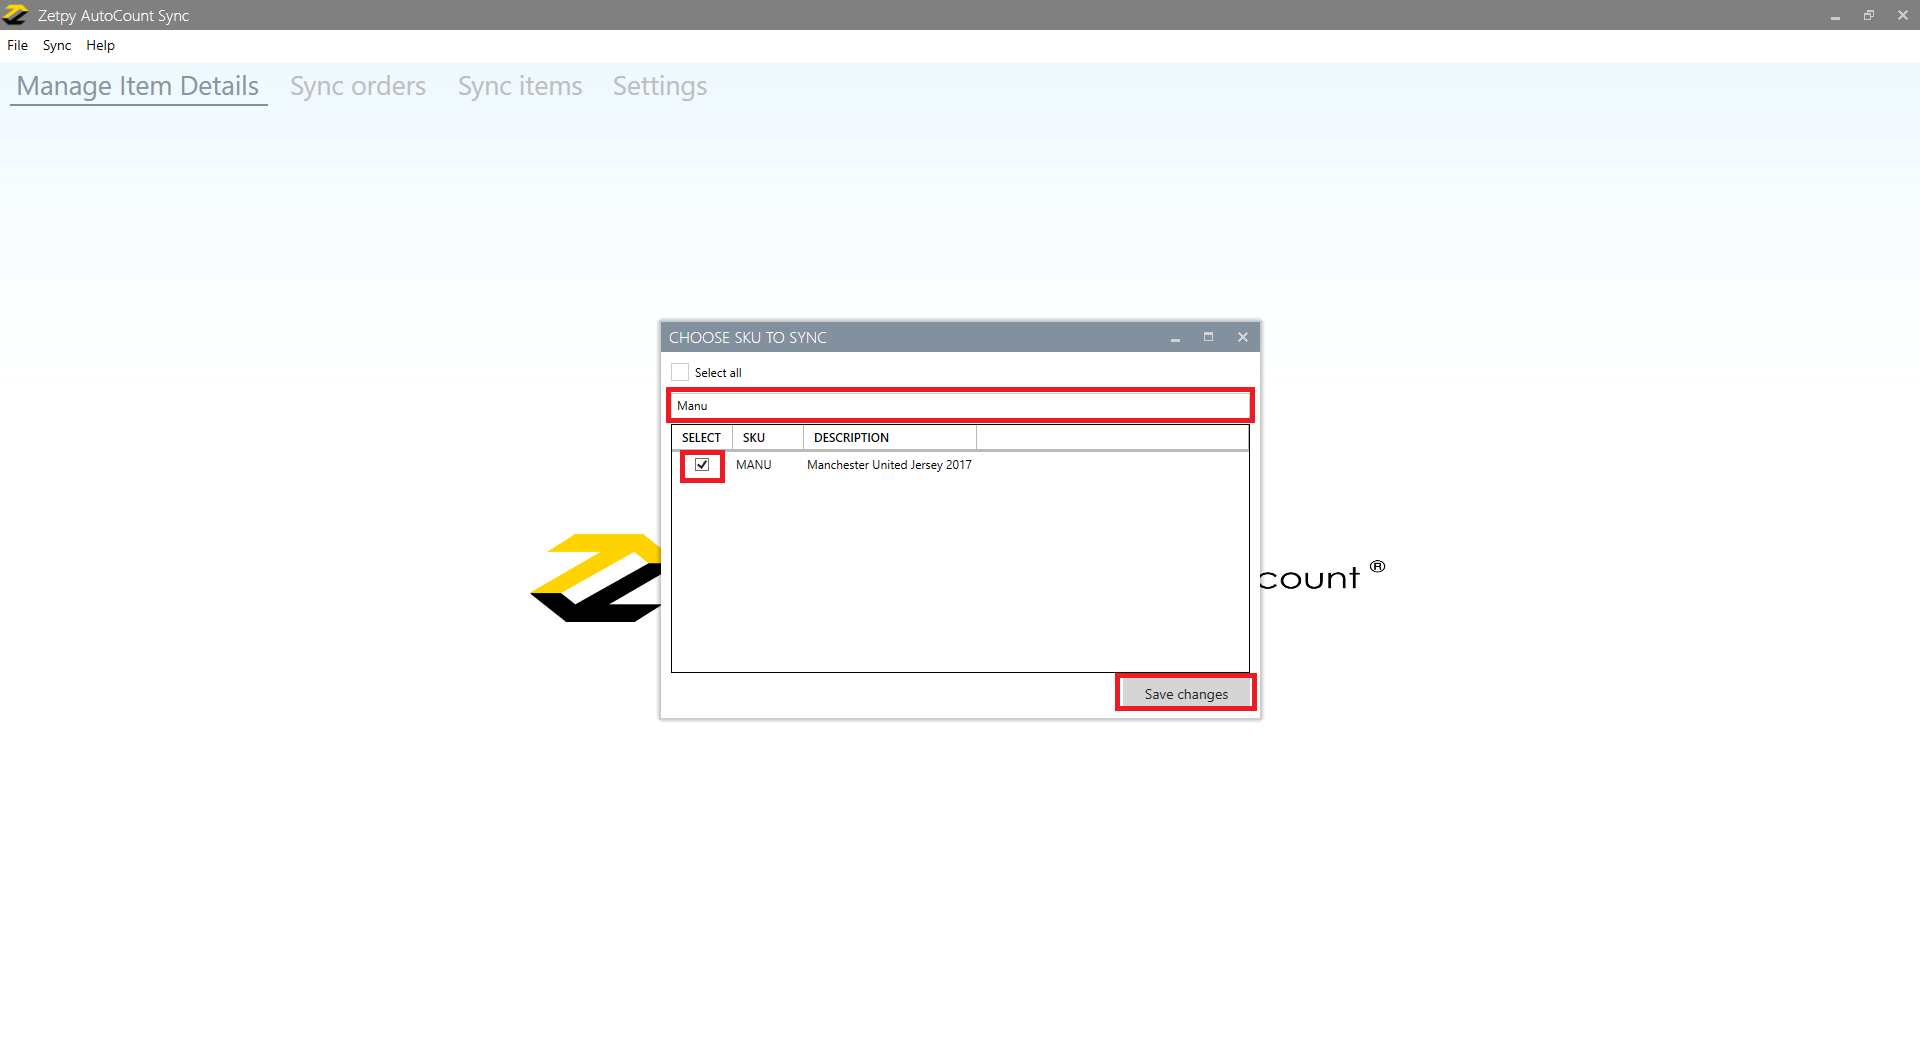
Step 1: Choose Items To Sync
1. Go to Zetpy AutoCount Sync.
2. Click on Sync.
3. Click on Choose Sync Items.
4. You can search by SKU number or product name.
5. Select by ticking your product to sync into Zetpy.
6. Click Save Changes.
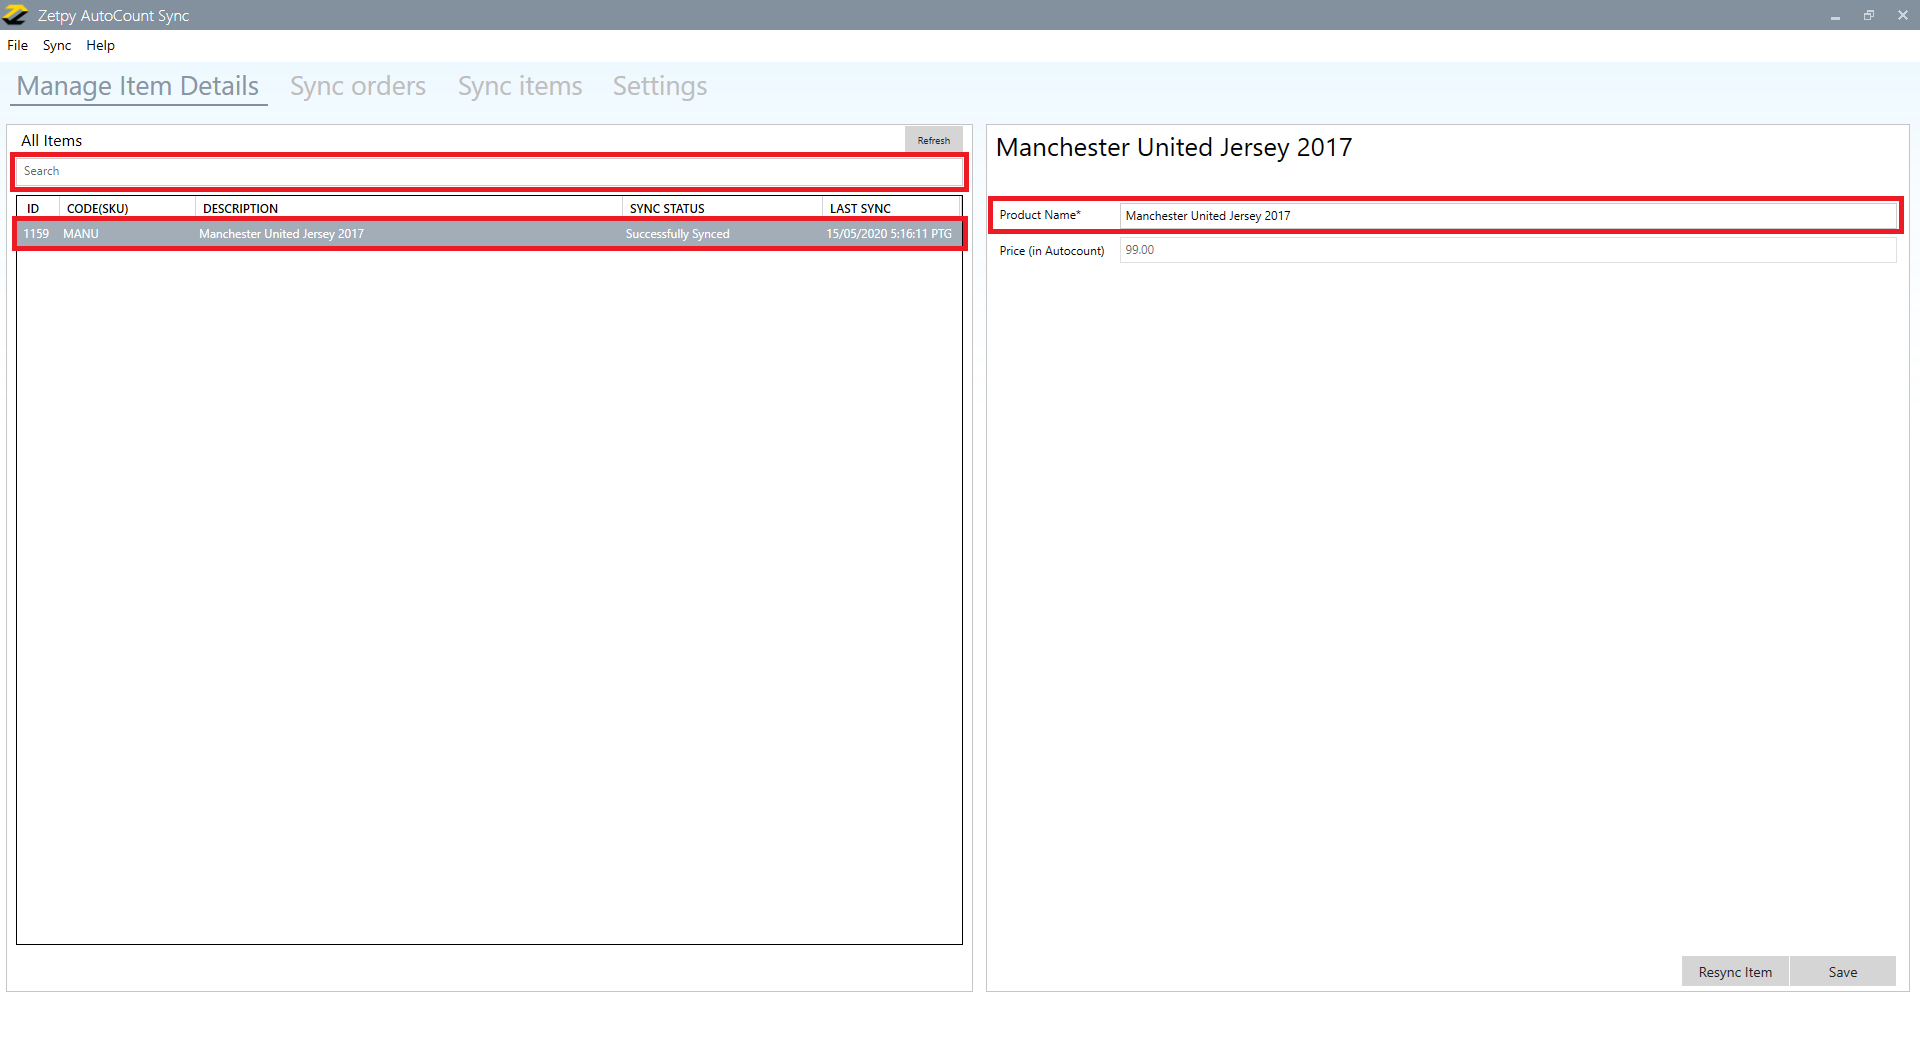
Step 2: Manage Item Details
1. Click on Manage item details.
2. You can search by SKU number or product name.
3. Click on your product. You can edit the product name or pricing before syncing to Zetpy or you can ignore it.
Product name
4. Click on Save.
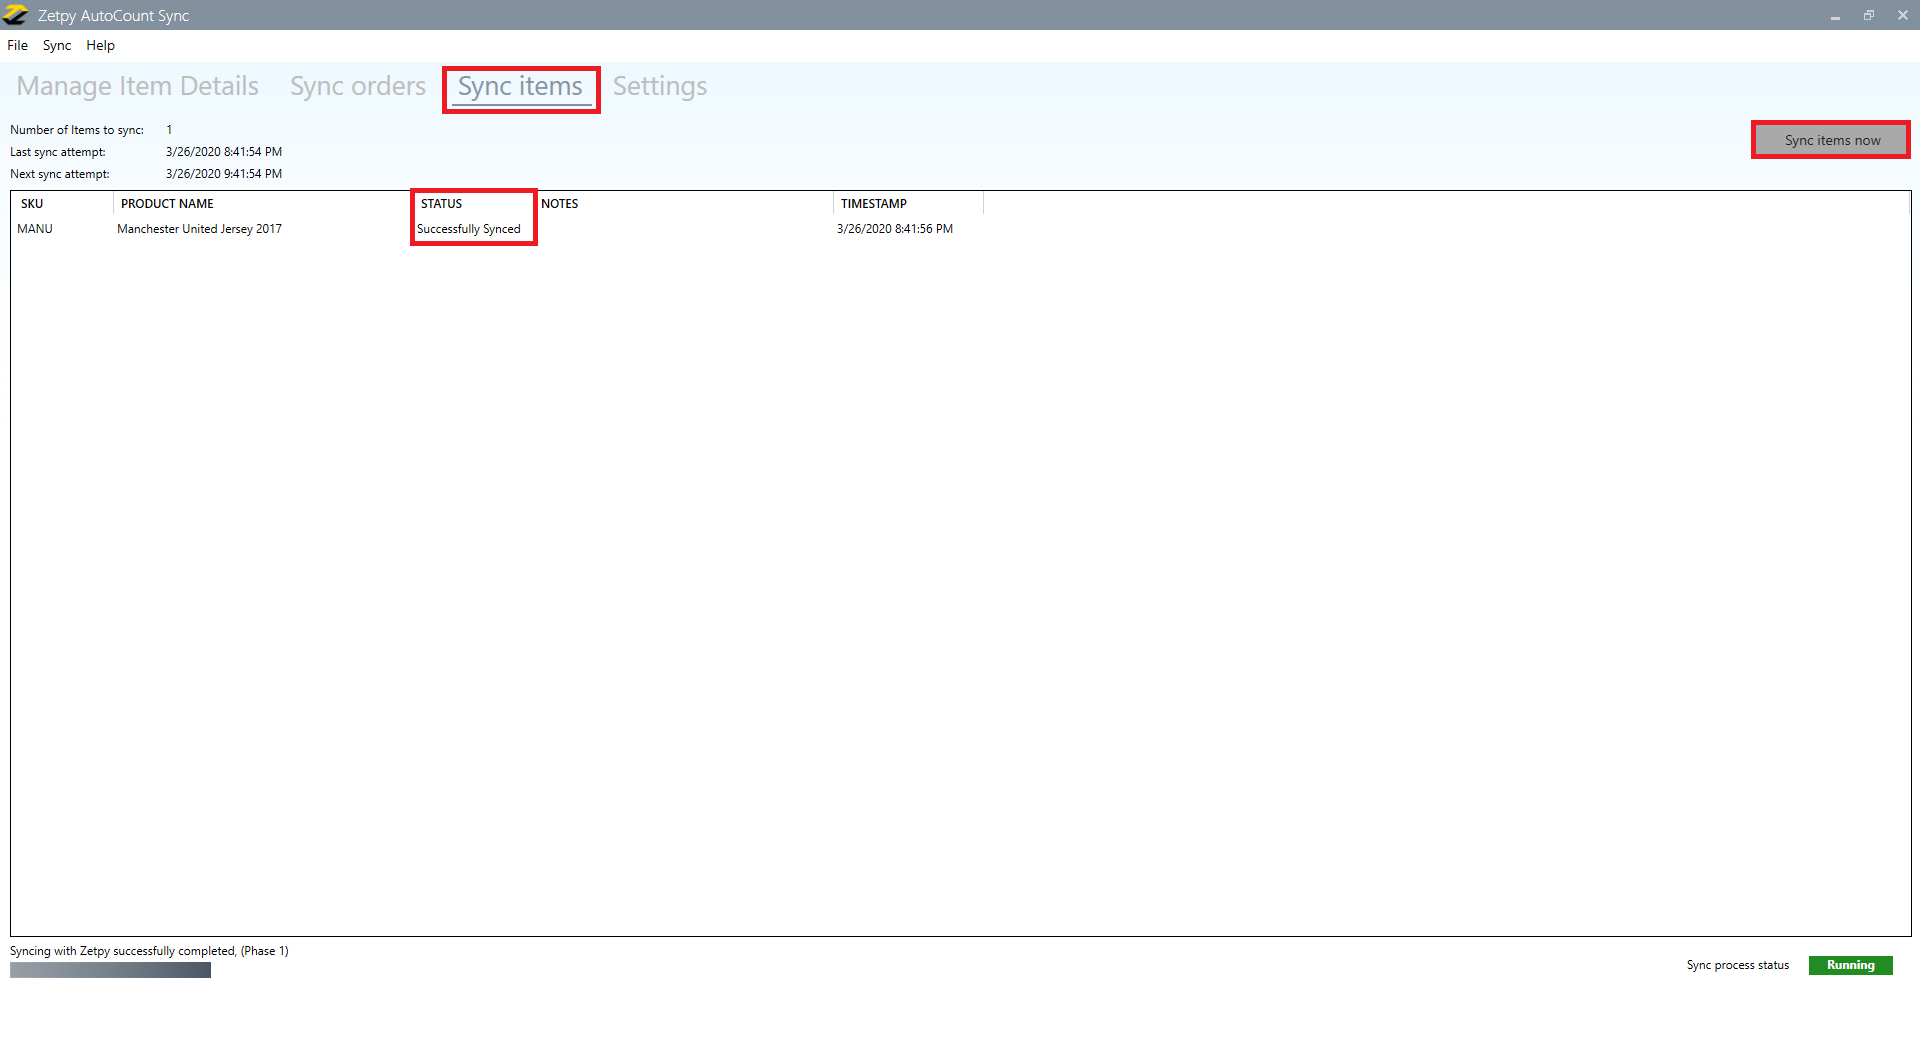
5. Click on Sync items.
6. Click on Sync Items now button.
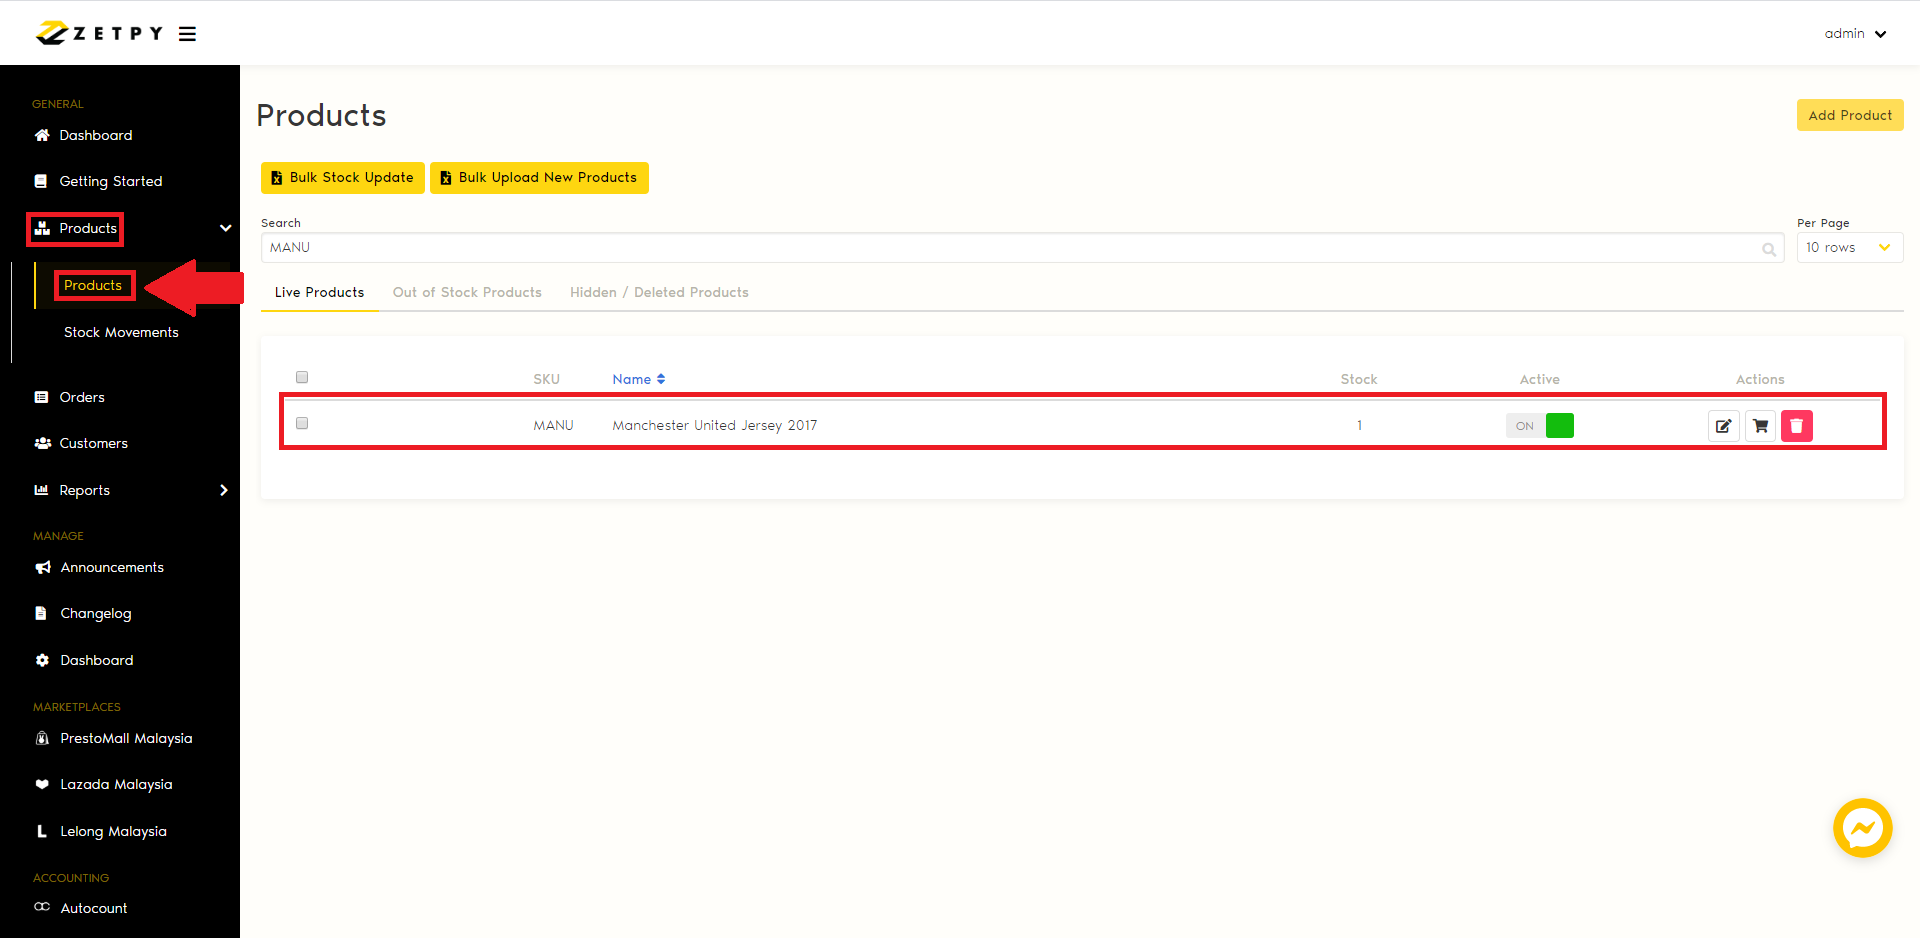
7. Status will show that your product is Successfully Synced to Zetpy.
If you have any issues or questions, please drop us an email at support@zetpy.com